似曾相识的标题 2333
0x00.前言
上次写还是18年的这篇文章:树莓派 3B 初始化,但是这次变成了树莓派 3B+ 初始化草
0x01.Raspberry Pi Imager.app烧录镜像
点击此处 ← 查看折叠

v1.5
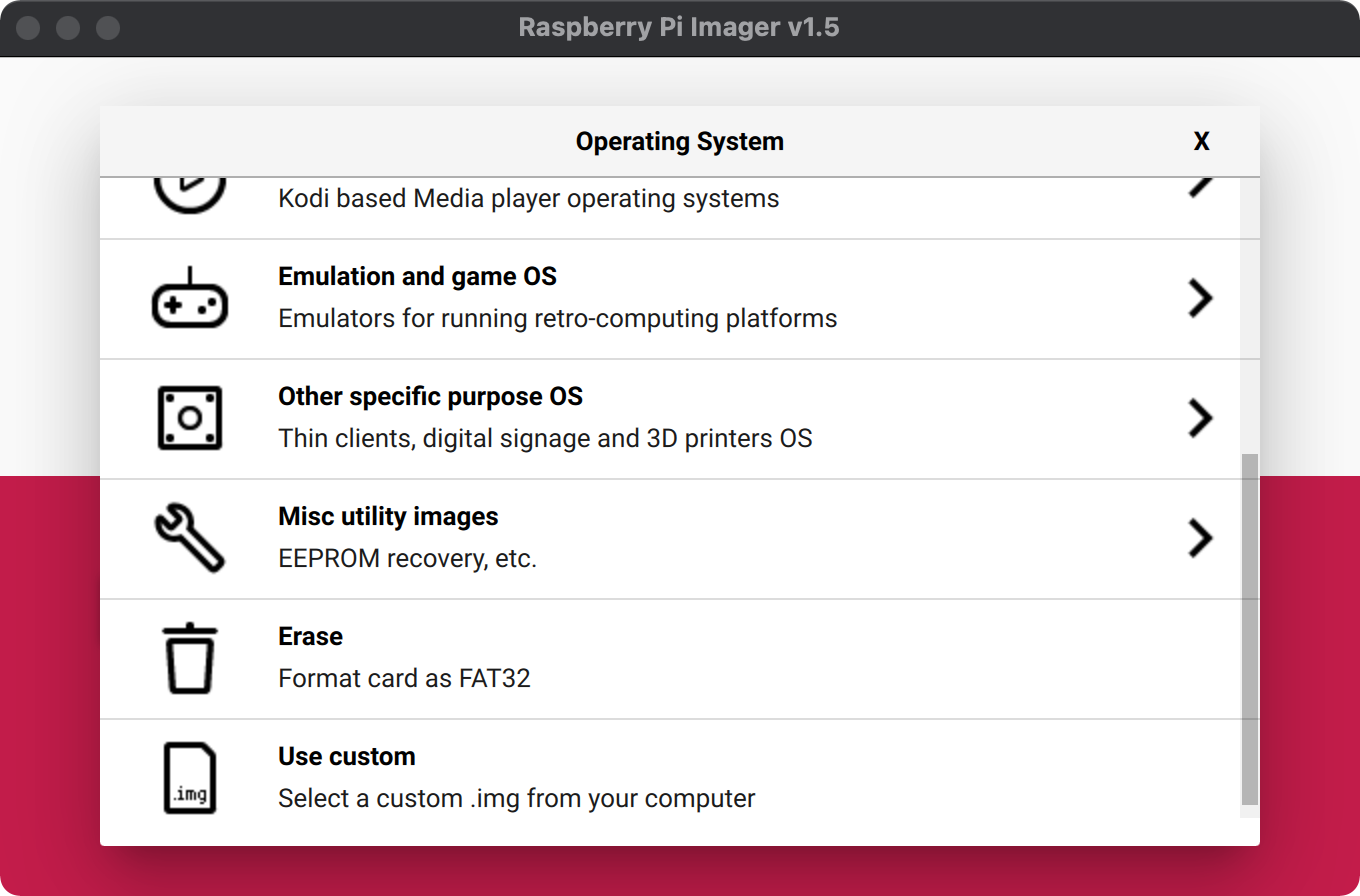
系统
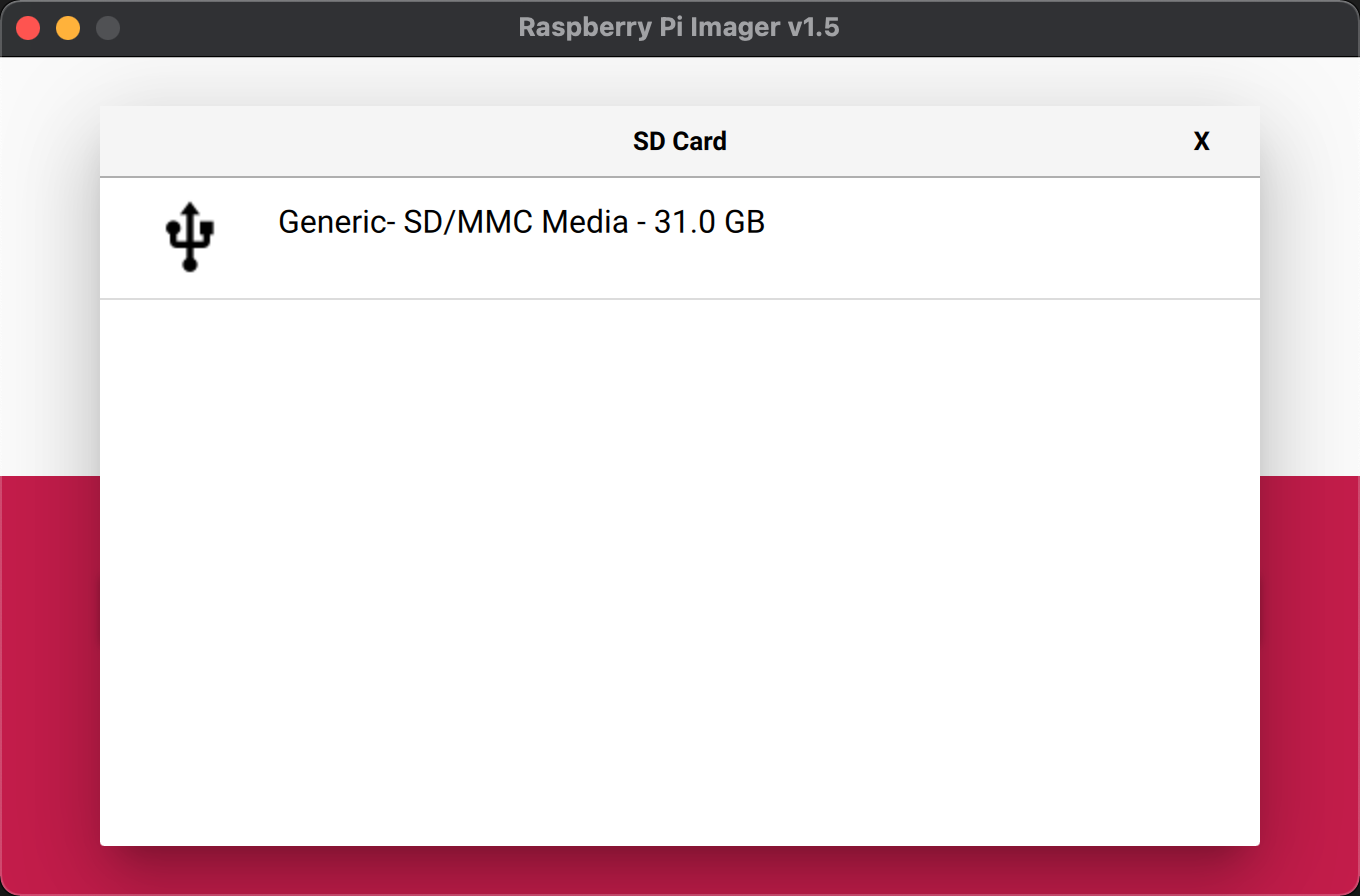
存储卡
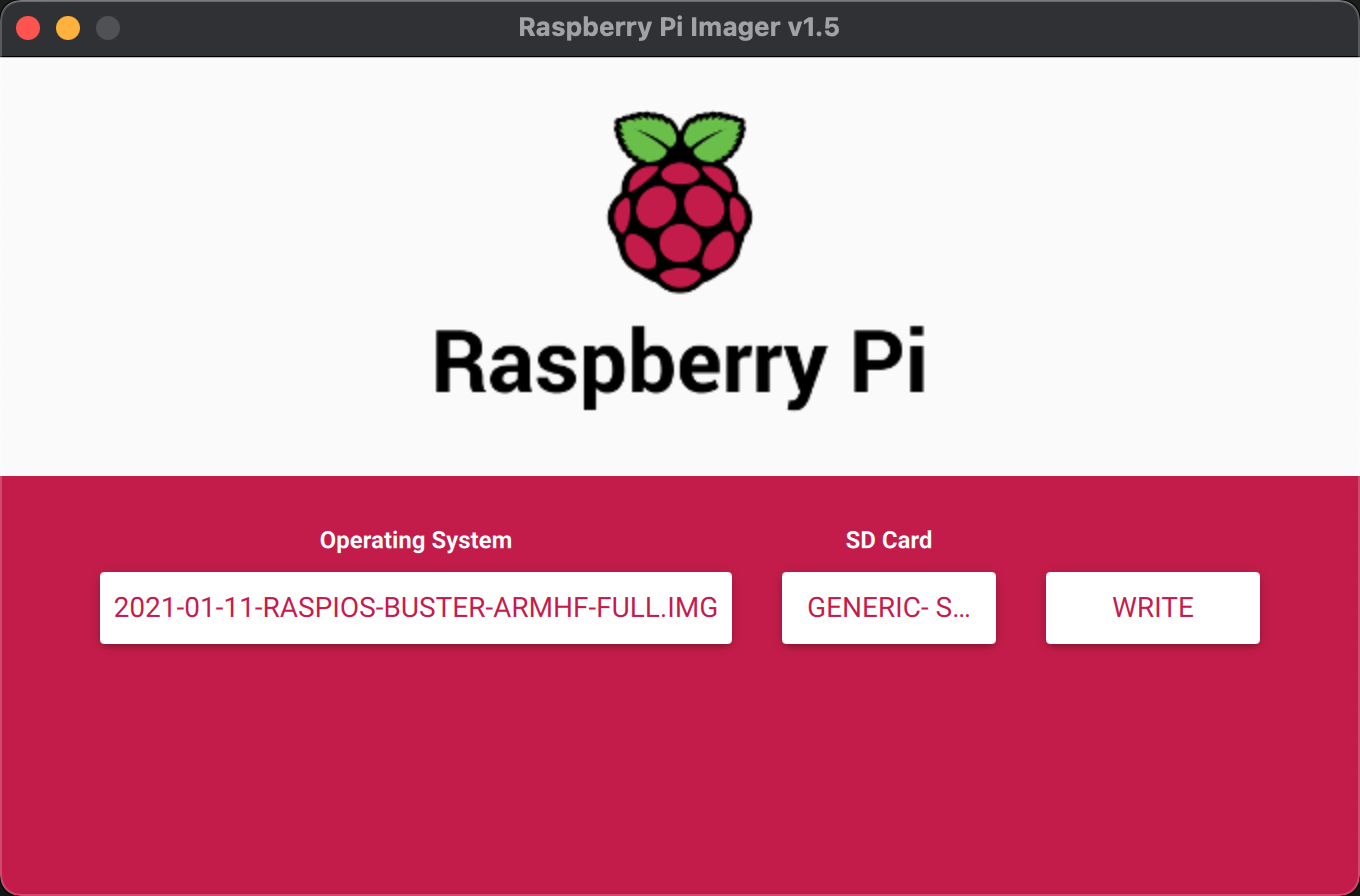
烧录
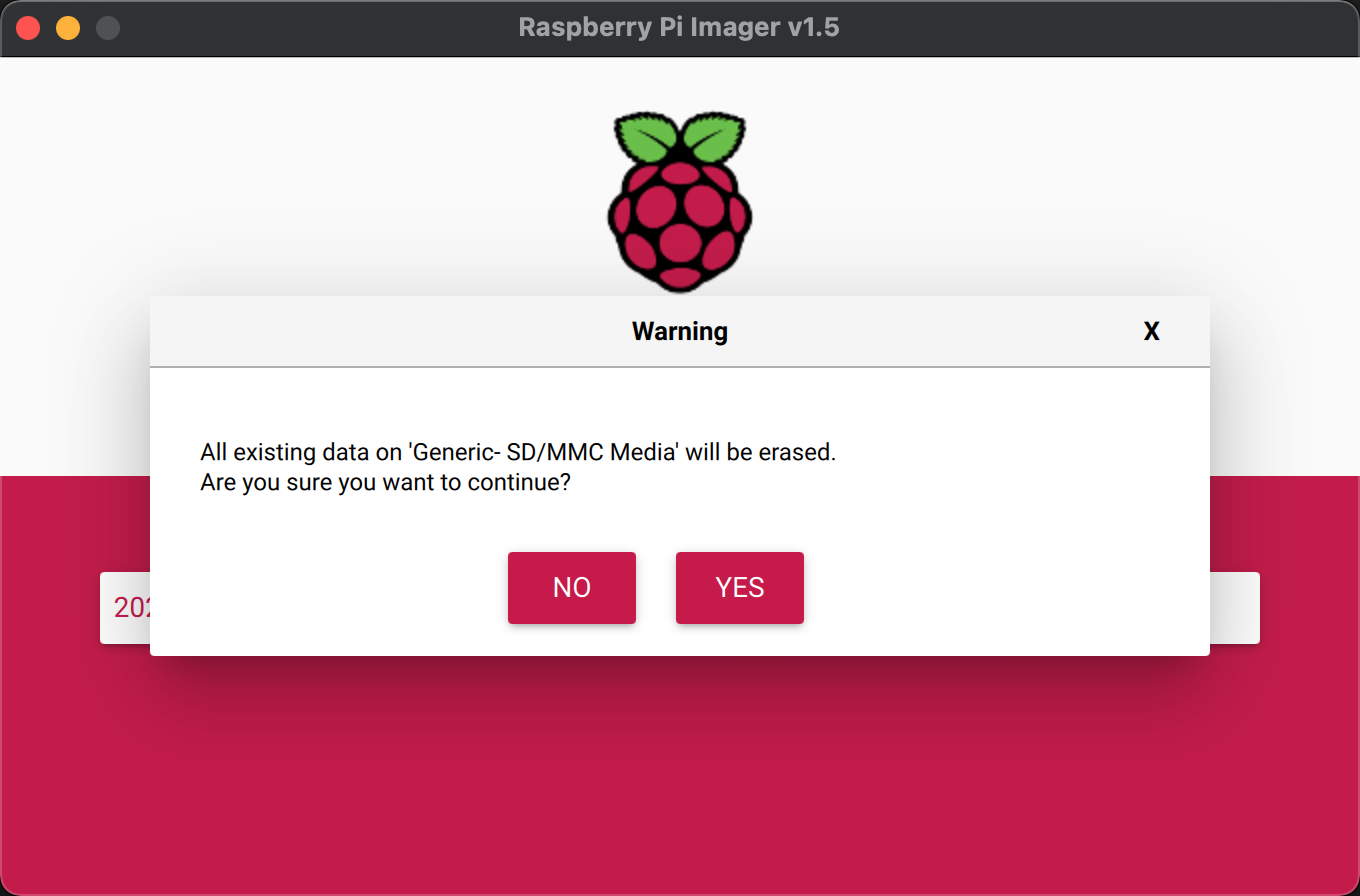
确认
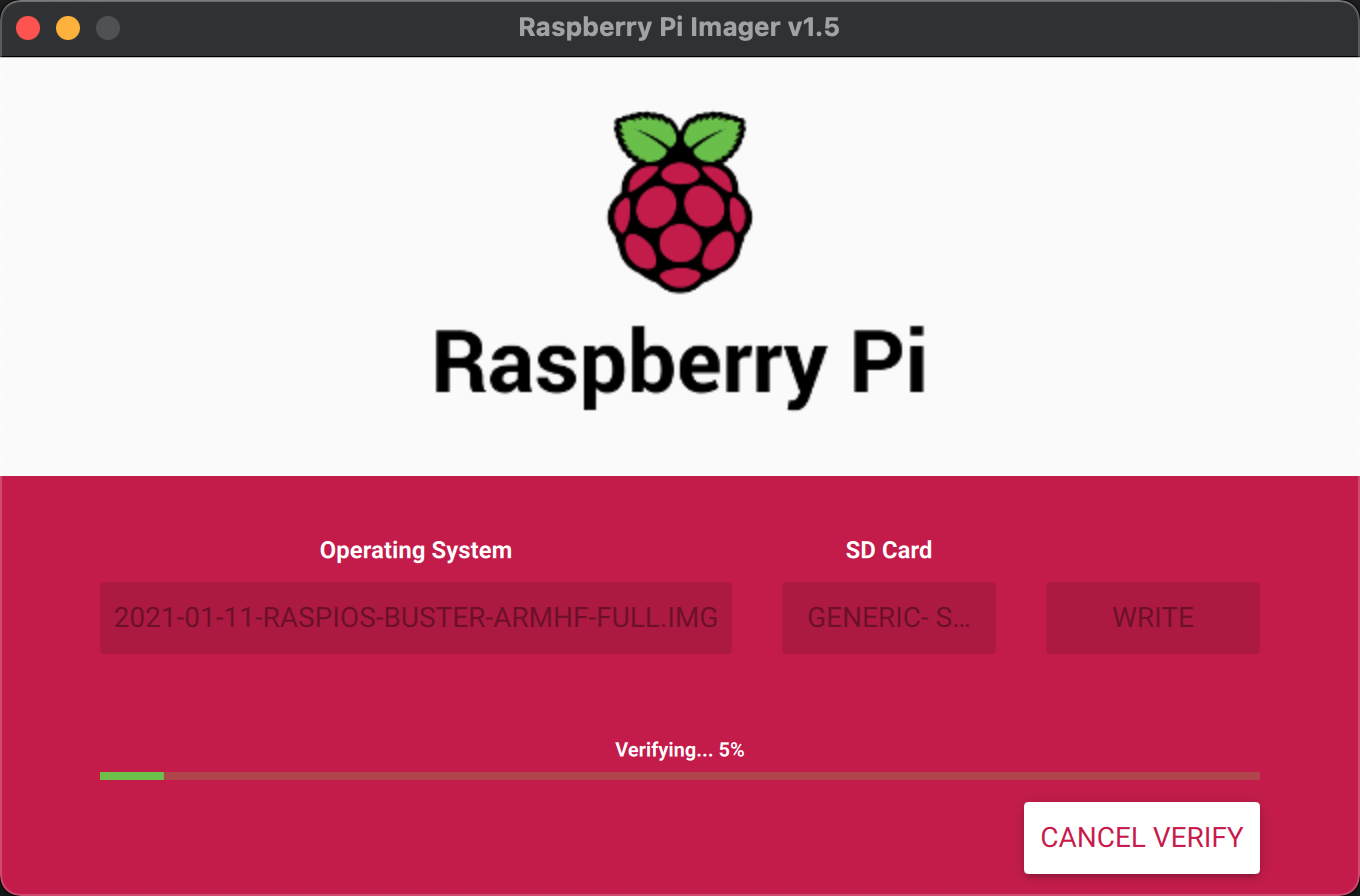
验证
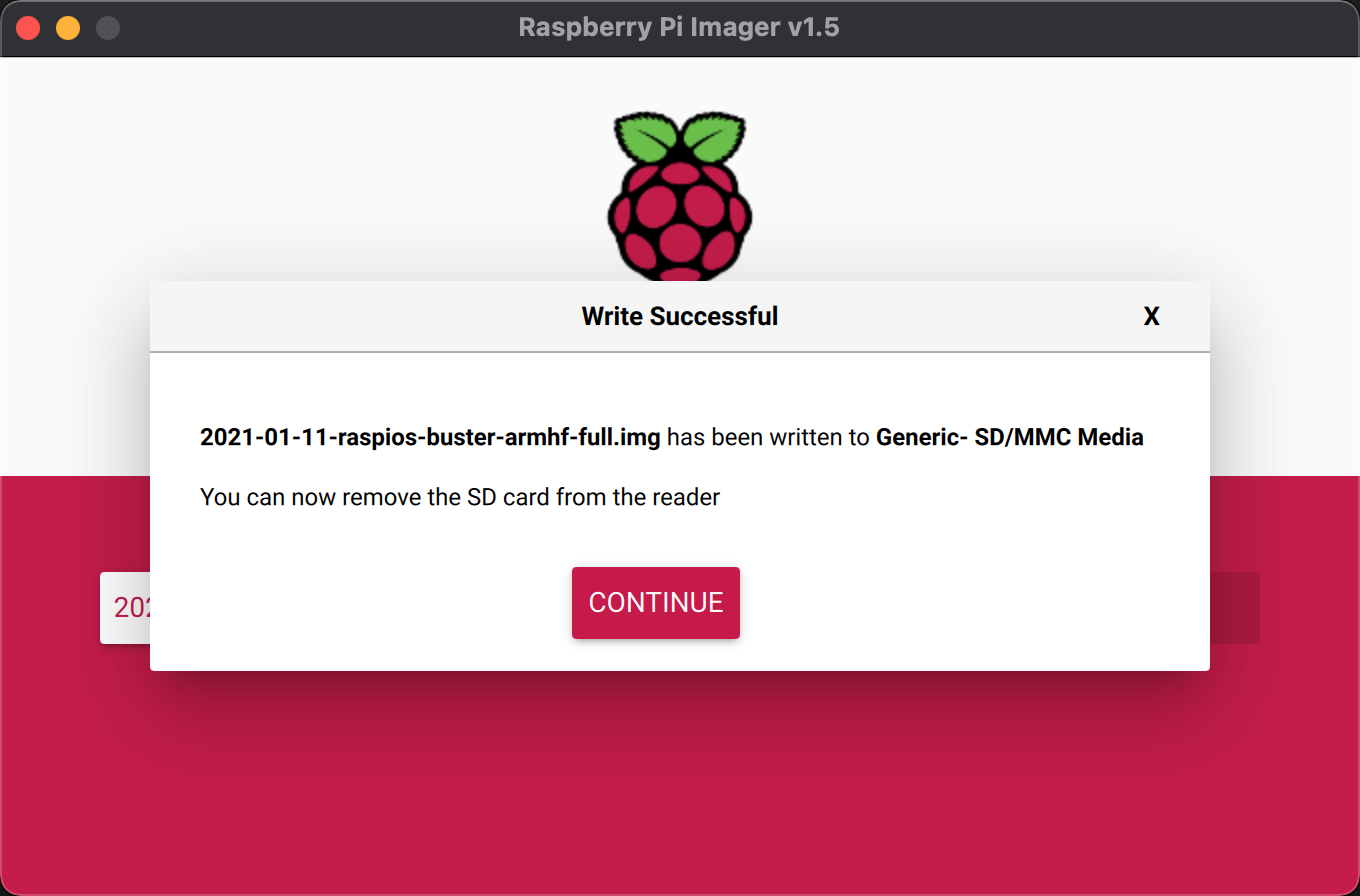
弹出
创建空白ssh文件扔到/boot路径下
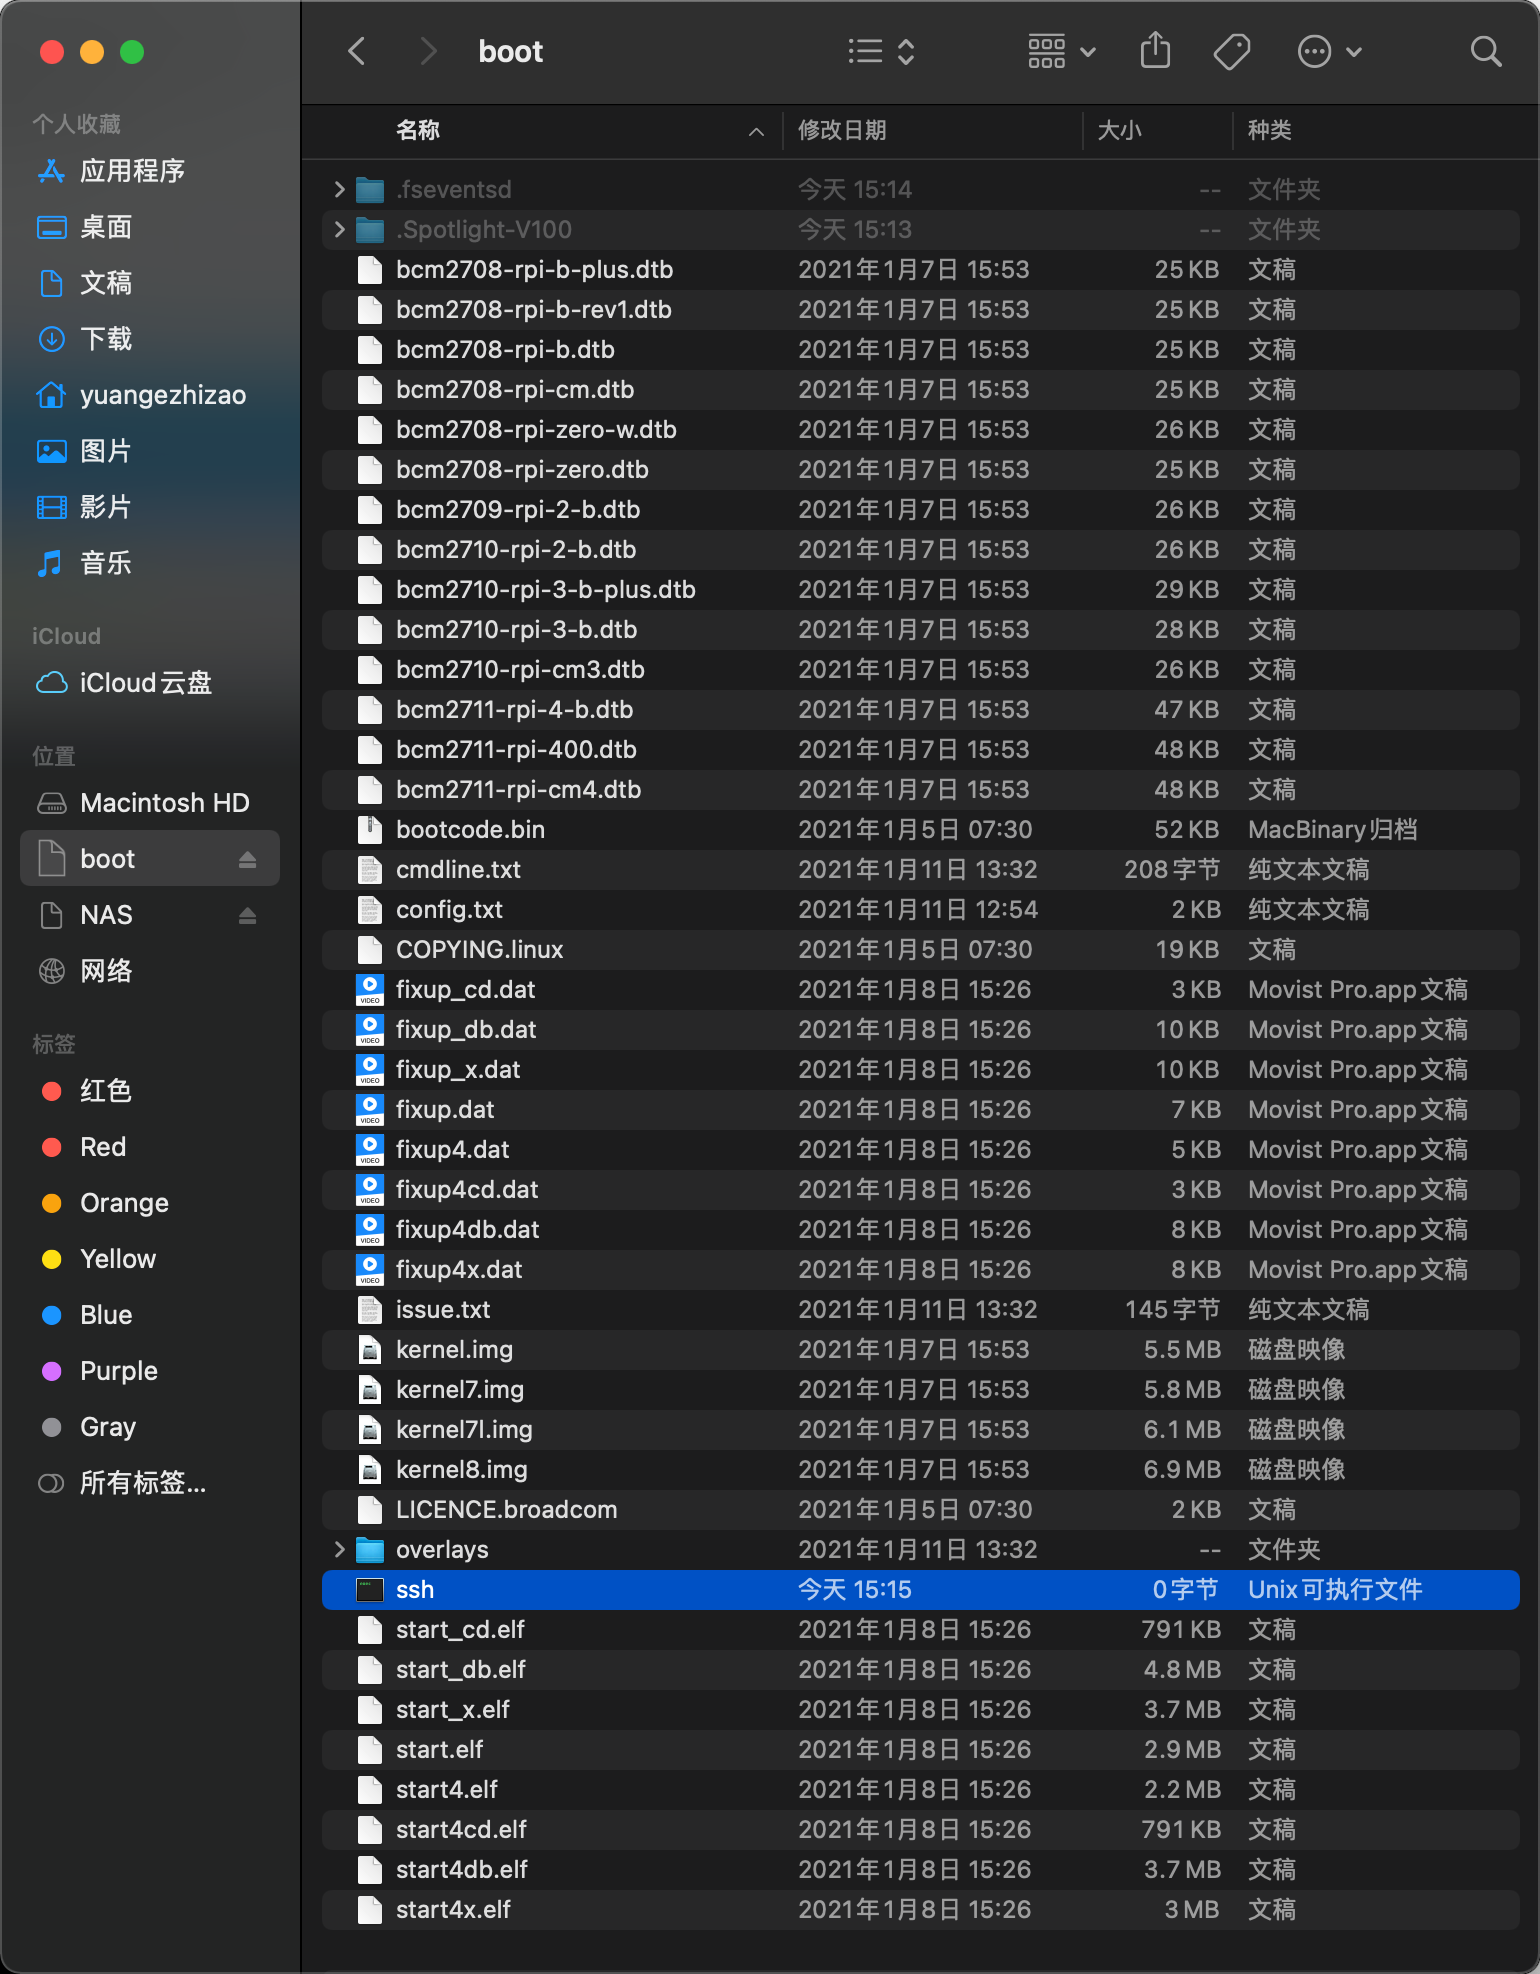
ssh
0x02.设置静态IP地址
搬家之后rpi-master和rpi-slave均不再使用无线连接(分别是5G和2.4G的WiFi),全部以菊花插网线的方式上网,因此需要修改/etc/dhcpcd.conf,末尾追加
1 | # Example static IP configuration: |
1 | # Example static IP configuration: |
注:eth0代表本地网卡,wlan0代表无线网卡
0x03.下行带宽上限测试
先在cn-py-dl-w2d上开启服务端
1 | D:\iperf-3.1.3-win64>iperf3 -s |
3B+实测不到300M,有线连接
1 | pi@rpi-master:~ $ iperf3 -c 192.168.25.248 |
而3B则实测不到100M,同样也是有线连接
1 | pi@rpi-slave:~ $ iperf3 -c 192.168.25.248 |
0x04.摄像头以mjpeg方式接入HomeAssistant
修改configuration.yaml
1 | camera: |
0x05.安装SmokePing
参照How to install SmokePing全部得编译安装,看完直接劝退完全折腾不动,还是算了吧,真的需要一键安装脚本……
然后谷歌看到树莓派上有编译好的包,于是立即从cn-py-dl-c8切换到rpi-master来安装了
后来发现也可以用docker:https://github.com/linuxserver/docker-smokeping
1 | pi@rpi-master:~ $ apt show smokeping |
开始安装
1 | pi@rpi-master:~ $ sudo apt install smokeping -y |
修改配置文件
点击此处 ← 查看折叠
1 | pi@rpi-master:~ $ sudo vim /etc/smokeping/config.d/Probes |
最后重启
1 | pi@rpi-master:~ $ sudo service smokeping restart |
0x06.后记
2021-05-27 23:06:06:这篇文章再不扔出来就要长毛了2333
0x07.引用
树莓派设置静态 IP 地址
树莓派自带的网卡的带宽是多少
Raspberry Pi に Smokeping をインストールしてスループットをモニタする
How to Upgrade Raspberry Pi OS to the Latest Version?
Raspberry Pi OS upgraded to Debian 11 “Bullseye”
raspberrypi/picamera2
未完待续……
